In the fast-paced packaging industry, the efficient operation of paper cup making machines is crucial for maximizing productivity, ensuring product quality, and minimizing operational costs. Whether you are a seasoned operator or a new technician, mastering the core principles of machine operation, pre-operation checks, step-by-step techniques, and maintenance routines is essential. This article provides a comprehensive guide to help you achieve efficient and reliable operation of your paper cup making machine.
1. Understanding the Basics of Your Paper Cup Making Machine
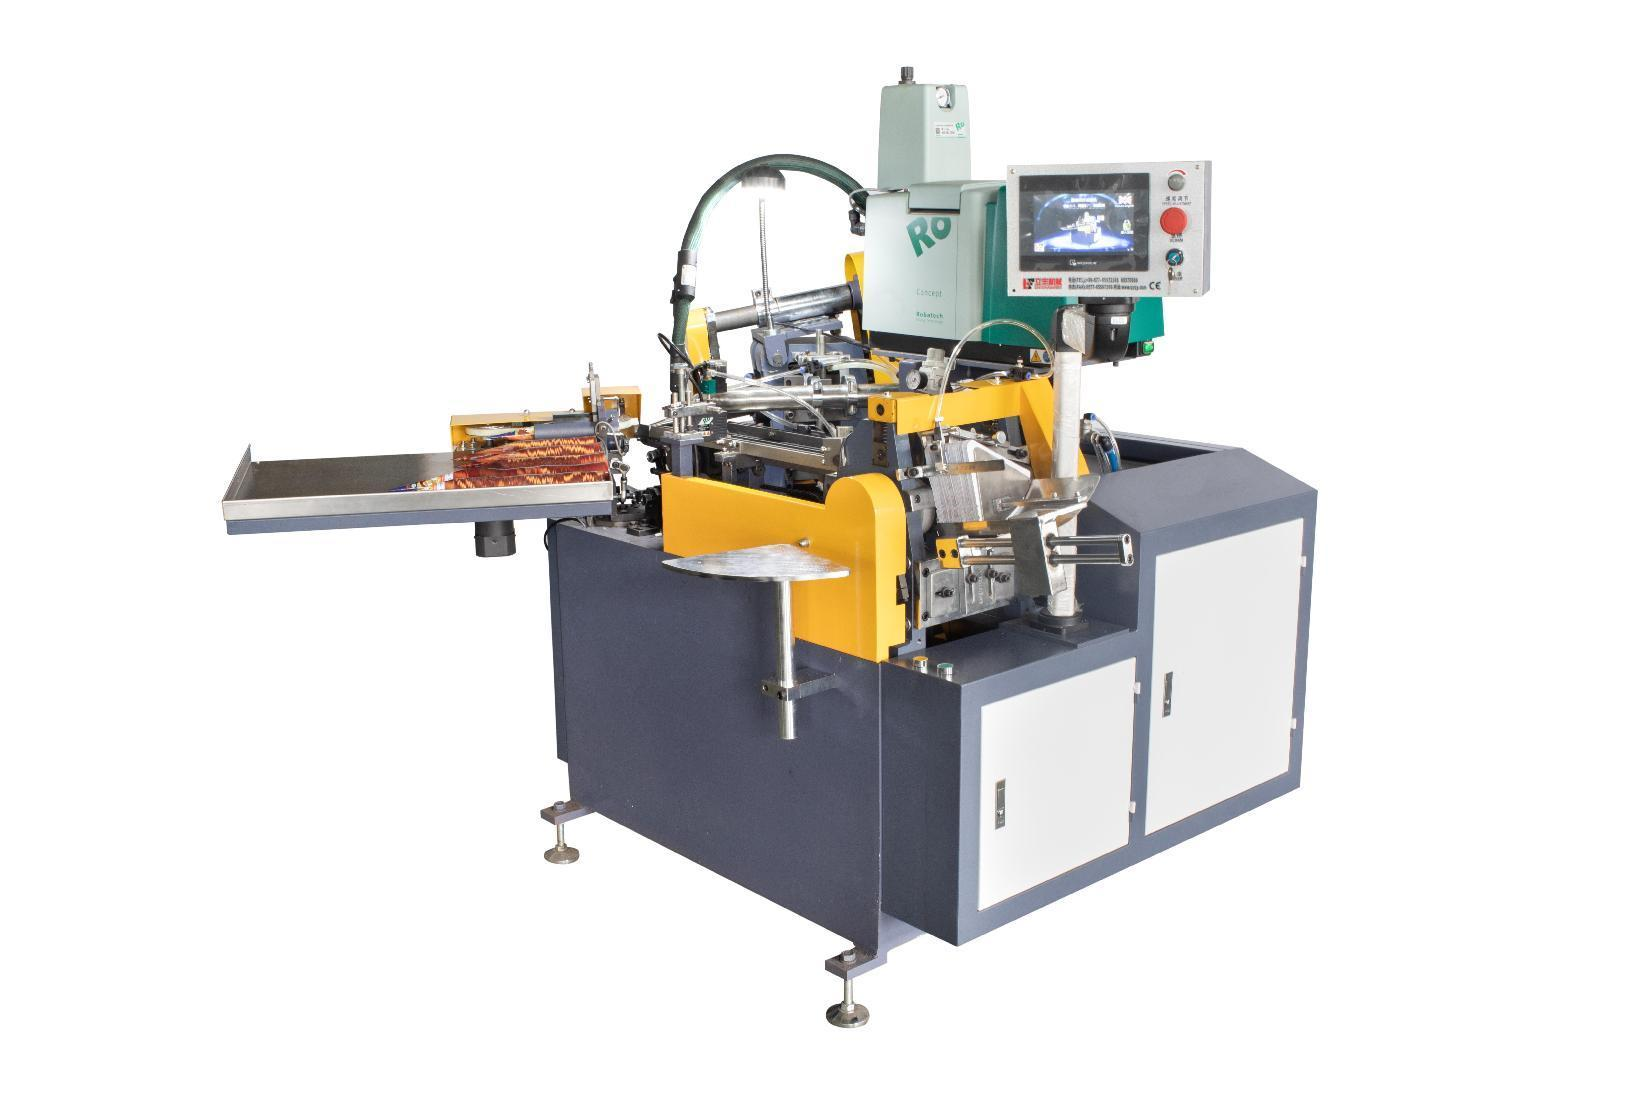
A clear grasp of machine components and working principles is foundational for efficiency. Paper cup machines transform paper rolls into finished cups via sequential processes. Familiarity with key parts aids troubleshooting, setting optimization, and downtime reduction.
1.1 Core Components and Their Functions
Paper Unwinding Unit: Holds PE-coated paper rolls and feeds them at steady speeds, with tension controls to prevent wrinkles or breaks—critical for cup blank quality.
Printing and Die-Cutting Section: Prints designs (for printed cups) and die-cuts paper into uniform blanks, whose precision directly impacts consistent cup forming.
Cup Forming Unit: The machine’s core, handling blank feeding, bottom punching, side sealing, and shaping. Proper alignment of male/female molds ensures cup shape, height, and seal strength meet standards.
Heating and Sealing System: Uses hot air or ultrasonic technology to seal cup seams and bond bottoms. Temperature, pressure, and sealing time are critical—errors cause leaks or burns.
Delivery and Stacking Unit: Discharges, counts, and stacks finished cups. Advanced models include automatic defective cup rejection to reduce manual sorting.
1.2 Machine Type and Capacity
Paper Cup Machines are classified by production capacity (cups per hour, CPH) and size range (4oz-24oz). High-speed models produce 600-1200 CPH, medium-speed 300-600 CPH. Knowing rated capacity helps set realistic targets and avoid overloading-induced wear/quality issues.
2. Pre-Operation Checks: Setting the Stage for Success
Skipping pre-operation checks often causes machine breakdowns and poor quality. A thorough pre-start inspection ensures system readiness and reduces unexpected downtime.
2.1 Raw Material Inspection
Input paper quality directly affects output. Check:
Paper Thickness and Coating: Ensure 180-300gsm thickness (standard for disposable cups) and uniform PE coating (no cracks/bubbles to prevent leakage).
Paper Roll Tension: Verify proper mounting and tension adjustment—over-tightening tears paper, under-tightening causes wrinkles.
Expiry Date: PE-coated paper has a shelf life; expired stock loses coating adhesion, leading to sealing failures.
2.2 Machine Component Check
Molds and Dies: Inspect for wear, scratches, or deformation. Replace damaged parts immediately to avoid uneven edges or misshapen cups.
Lubrication: Check moving parts (gears, chains, bearings) for lubrication. Insufficient lubrication increases friction, causing overheating and failure—use manufacturer-specified lubricant.
Electrical and Pneumatic Systems: Ensure secure connections for cables, sensors, and hoses. Check pneumatic pressure (0.6-0.8 MPa)—low pressure reduces forming/sealing precision.
Safety Devices: Confirm emergency stops, guards, and overload protectors work—critical for operator safety and machine protection.
2.3 Environmental Preparation
Maintain clean, dry conditions (18-25°C, 40%-60% humidity). Excess humidity causes wrinkles; high temperatures soften PE coating prematurely.
3. Step-by-Step Efficient Operation Techniques
Standardized operation ensures consistency. Below is a streamlined guide for effective machine use:
3.1 Machine Startup and Warm-Up
Turn on main power and control panel—monitor displayed status (temperature, pressure, speed).
Set sealing temperature by paper thickness (160-180°C for 180-220gsm; 180-200°C for 220-300gsm) and warm up 10-15 minutes until stable.
Start unwinding unit, adjust tension for smooth feeding, and test die-cutting with a small paper length.
3.2 Parameter Setting and Trial Production
Conduct trial runs to fine-tune parameters before full production:
Sealing Time and Pressure: Set 0.8-1.2s sealing time and 0.4-0.6 MPa pressure. Test 5-10 cups for gap-free, burn-free seams/bottoms.
Machine Speed: Start at 50% rated capacity; increase gradually if trial cups meet quality standards—avoid max speed initially to prevent instability.
Cup Height and Diameter: Adjust mold position to meet specs; use calipers to measure trial cup dimensions.
3.3 Batch Production and Real-Time Monitoring
Once parameters are optimized, start batch production with constant monitoring:
Quality Checks: Sample 3-5 cups every 15-20 minutes for leaks (water test), shape uniformity, and print quality—reject defects immediately.
Machine Status: Monitor control panel for abnormalities (temp fluctuations, pressure drops) and listen for unusual noises (grinding, squeaking) indicating loose/worn parts.
Paper Roll Replacement: Prepare next roll in advance; briefly stop to replace, adjust tension, and resume quickly to minimize downtime.
4. Maintenance Routines for Long-Term Efficiency
Regular maintenance extends machine life, cuts repair costs, and sustains efficiency. Establish daily, weekly, and monthly schedules.
4.1 Daily Maintenance
Cleaning: Post-production, power off and remove paper scraps, dust, and adhesive from die-cutting, forming, and delivery units—use soft brushes or compressed air.
Lubrication Check: Reapply lubricant to moving parts per manufacturer guidelines.
Parameter Reset: Reset to defaults if unused next day to prevent incorrect startup settings.
4.2 Weekly Maintenance
Bolt and Screw Inspection: Tighten visible fasteners (especially forming/die-cutting sections)—loose parts cause vibration and precision loss.
Heating Element Check: Inspect heating tubes/ultrasonic transducers for damage/scaling; clean scaling with non-abrasive cleaners for uniform heating.
Sensor Calibration: Calibrate tension, temperature, and counting sensors—incorrect data causes quality/production errors.
4.3 Monthly Maintenance
Major Component Inspection: Disassemble and clean forming molds/bottom punches; replace if wear exceeds 0.1mm.
Hydraulic and Pneumatic System Maintenance: Drain air compressor water, check hydraulic oil level, and replace clogged filters.
Electrical System Check: Inspect wiring for damage and tighten control panel terminals to prevent poor contact.
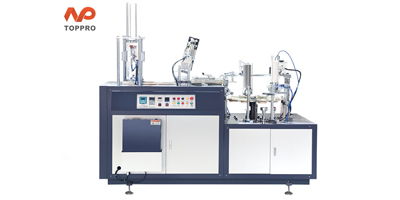
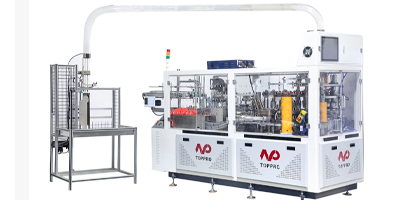
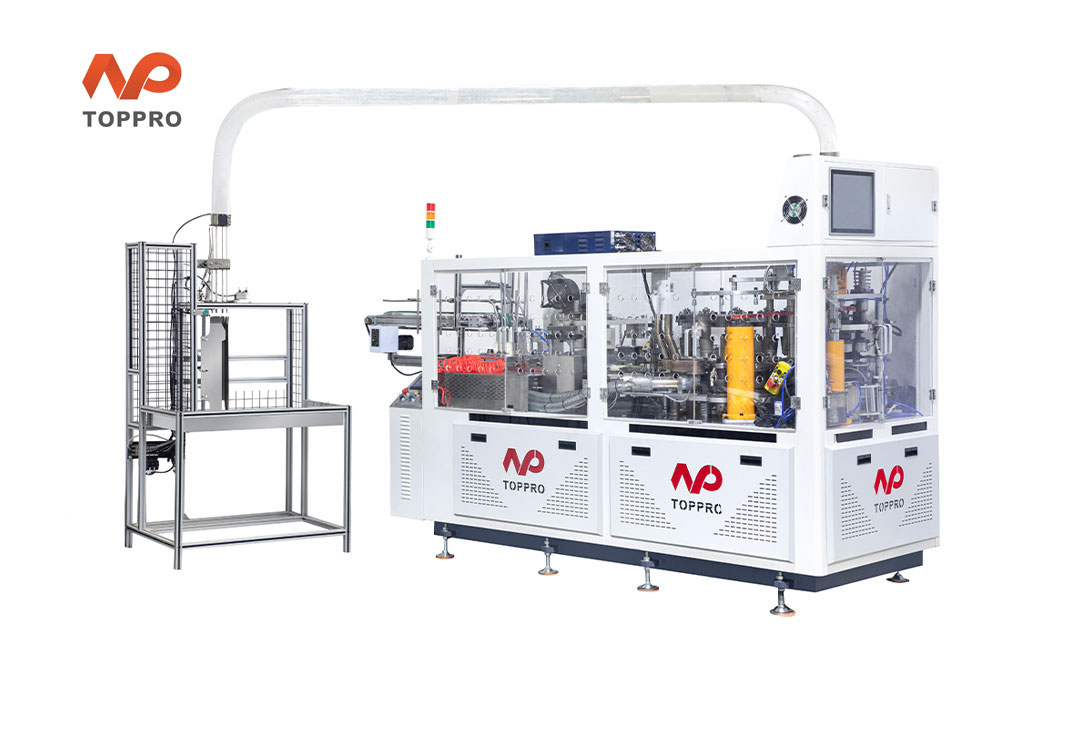
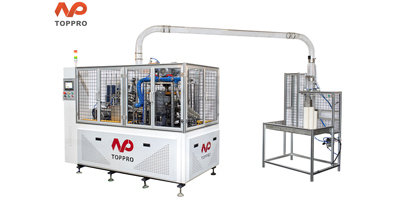
5. TOPPRO Paper Cup Machine
As a leader in packaging equipment innovation, TOPPRO paper cup machines integrate advanced technology and user-centric design to redefine efficiency, quality, and reliability in cup production. Tailored for both medium and large-scale operations, this equipment stands out with its comprehensive performance advantages that align with modern manufacturing demands.Whether you’re producing disposable beverage cups, ice cream cups, or food containers, TOPPRO paper cup machines deliver the perfect balance of productivity, quality, and cost-effectiveness. Elevate your packaging line with a solution that grows with your business needs.
FAQ
Q1: The machine produces cups with uneven side seams. What should I do?
A1: Uneven seams stem from misaligned molds or incorrect tension. Adjust male/female mold alignment via forming unit screws, tweak unwinding tension, and replace worn die-cutting blades if blanks are non-uniform.
Q2: Production speed is lower than rated capacity. How to improve it?
A2: Low speed may result from insufficient heating, high friction, or wrong pressure. Ensure heating reaches recommended temps (check elements/thermostat), lubricate moving parts, and set pneumatic pressure to 0.6-0.8 MPa.
Q3: How often should I replace forming molds?
A3: Molds last 6-12 months under normal use (8hrs/day, 5days/week). Replace immediately if cups have shape defects or mold wear exceeds 0.1mm—regular cleaning/lubrication extends lifespan.
Q4: The machine stops suddenly during production. What is the cause?
A4: Sudden stops often trigger safety devices. Reset emergency stops if pressed, check overload protectors (reduce speed and clear jams if tripped). For persistent issues, inspect wiring/control panels or contact technical support.