 English
 Español
 Pусский
 عربي
عربي 


“We changed nothing except the paper roll – and suddenly every 20th cup had a wrinkled side seam.”
That’s what a production lead from a Thai packaging plant told me during a site audit. We ran a quick diagnostic: paper GSM was correct, coating type matched, and the heating plates were at the right temperature. The real culprit? The forming unit’s bottom knurling tool had shifted 0.3 mm over six months of 24/7 runs.
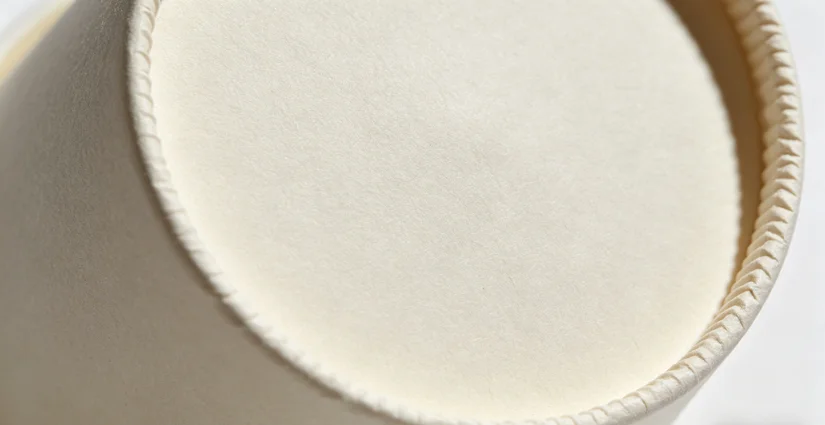
Here’s the uncomfortable truth that no one talks about: even the best paper quality (the right GSM, the perfect coating) cannot compensate for a poorly calibrated mold set or a misaligned forming unit.
If you run a cup forming operation, regular calibration of molds and the forming unit is not optional – it’s the highest‑ROI maintenance task you can perform. This guide walks you through why, when, and exactly how to do it.
1. Why calibration drifts – and what breaks first
Most operators assume that once a mold is installed, it stays accurate forever. In reality, three factors slowly degrade alignment:
-
Vibration – High‑speed cycles (80–180 cups/minute) loosen bolts and shift cam followers.
-
Thermal expansion – Heating plates (120–160°C) cause metal parts to expand differently, especially if the frame and tool steel have different coefficients.
-
Wear – The bottom knurling wheel, side seam sealing jaws, and the punch head experience thousands of impacts per hour. Hard chrome plating wears 0.05–0.1 mm per year in continuous use.
The result:
-
Crocked cup rims (oval instead of round)
-
Side seam that opens under hot liquid
-
Bottom knurling that doesn’t seal evenly – leak after 10 minutes
2. Calibration step‑by‑step (90‑minute routine)
You don’t need expensive laser tools. A dial gauge, a set of feeler gauges, and a systematic approach are enough.
Step 1: Remove and inspect the mold set
Take out the forming mold (both male and female parts). Clean off all paper dust and old grease. Inspect for:
-
Cracks on the rim‑forming edge
-
Uneven wear on the knurling pattern (compare left vs. right side)
-
Burrs that can scratch the paper coating
Common mistake: Skipping visual inspection and only checking alignment. A cracked mold will never produce a good cup – no calibration can fix that.
Step 2: Check vertical alignment of punch and die
Re‑install the mold and bring the forming unit to its closed position without paper. Use a dial gauge on the punch head relative to the die ring.
-
Acceptable runout: ≤ 0.1 mm
-
If runout > 0.2 mm, the bottom seam will have thin spots that leak.
How to adjust: Most forming units have eccentric bolts or shims under the die holder. Loosen, shift incrementally, and re‑measure until runout is within spec.
Step 3: Set side seam overlap and pressure
The side seam is formed by folding the paper blank and pressing it against a heated jaw. Calibrate:
-
Overlap width – should be 4–6 mm. Less than 4 mm risks opening; more than 6 mm wastes paper and creates a thick ridge.
-
Sealing pressure – use a pressure gauge on the pneumatic cylinder (typical range: 3–5 bar for PE coating, 2.5–4 bar for PLA).
Quick test: Seal a side seam, then peel it manually. The paper fibres should tear before the coating delaminates – that indicates proper pressure.

Step 4: Calibrate bottom knurling depth
The bottom knurling wheel should leave a clear diamond pattern that is 0.15–0.25 mm deep into the paper + coating. Too shallow: weak seal. Too deep: cuts through coating, causing direct leakage.
Use a depth micrometer or a comparator gauge. Adjust the knurling wheel’s eccentric shaft by ⅛ turns until depth falls into the range.
Step 5: Run a 50‑cup validation batch
After calibration, produce 50 cups without changing any other variable. Check:
-
Rim roundness (roll on a flat table – wobble means oval)
-
Side seam straightness (visual along the cup axis)
-
Bottom burst test (fill with 85°C water, place on absorbent paper for 3 minutes – any damp spot = fail)
If failure rate > 2%, repeat step 3 and 4.
Industry reference: According to a 2022 survey by the Packaging Machinery Manufacturers Institute (PMMI), 68% of “unexplained” leak complaints disappear after a full forming unit calibration.
3. How often should you calibrate?
| Operation intensity | Recommended interval | Trigger‑based calibration |
|---|---|---|
| 24/7 high speed ( >120 cups/min) | Every 400 operating hours (≈2 weeks) | After any mold change or crash |
| Single shift (8–10h/day) | Every 800 hours (≈4 weeks) | When reject rate rises >1.5% |
| Occasional / prototype runs | Every 2 months | Before important customer order |
Proactive rule: Mark your calendar for the first Monday of every month – spend 90 minutes on calibration. One operator we trained reduced his monthly waste from 8% to 2.3% simply by sticking to this schedule.
4. The “hidden” calibration: heating plate flatness
Most people forget that the forming unit’s pre‑heating plates also need calibration. If the plate is warped (more than 0.2 mm deviation across its length), the paper heats unevenly – coating melts on one side but stays solid on the other.
How to check: Place a precision straight edge (or a new steel ruler) across the plate. Use a feeler gauge to measure gaps.
-
Flatness tolerance: ≤0.15 mm
-
If warped >0.3 mm → resurface or replace the plate
A warped heating plate is the #1 cause of “random” side seam failures that no one can explain. After you’ve followed the steps above and still see periodic defects, check the technical drawings of your heating station layout – many modern systems have individually adjustable segments.
5. When calibration isn’t enough – signs of deeper mechanical wear
Sometimes, no amount of calibration fixes the problem. You may have reached the end of service life for certain components. Watch for:
| Symptom | Likely worn part | Typical lifespan |
|---|---|---|
| Consistent rim wave on one side | Cam follower bearing | 12,000 hours |
| Bottom knurling depth changes mid‑run | Knurling wheel eccentric bushing | 8,000 hours |
| Side seam pressure unstable | Pneumatic cylinder seal | 5,000 hours |
| Random misalignment after tightening | Worn keyway on shaft | 10,000 hours |
If you encounter these, calibration is just a temporary band‑aid. The real solution is replacing the worn parts or – if the forming unit is aging beyond economical repair – evaluating a forming system with longer‑lasting tool steel and sealed bearings. Newer designs reduce calibration frequency by 70%.
6. Build your calibration checklist (downloadable)
Create a one‑page shop floor checklist that includes:
-
Preparation (5 min): Clean mold, collect dial gauge + feeler gauge + depth gauge
-
Inspection (15 min): Visual check of molds, heating plates, cam followers
-
Alignment (30 min): Punch‑to‑die runout, side seam overlap, knurling depth
-
Heating flatness (10 min): Straight edge + feeler check
-
Validation run (30 min): 50 cups, burst test, visual inspection
Appoint one trained operator per shift as the “calibration owner”. Rotate responsibility monthly to build cross‑team expertise.
Real case: A Philippine cup manufacturer had erratic rejection rates (3–12%) depending on which shift produced. After implementing a standardised calibration checklist and morning verification (15 minutes before start), the variation dropped to 1.5–2% across all shifts – saving ~$1,200 per week in wasted paper.
7. What to do if you don’t have in‑house calibration skills
Calibration is not difficult, but it requires practice and patience. Many small to medium producers either skip it or do it wrong because no one taught them.
You have three options:
-
Train one mechanic using this guide and a 4‑hour supervised session.
-
Hire a consultant for one day to audit and calibrate while teaching your team.
-
Switch to a forming unit that self‑monitors alignment – some modern systems include sensors that detect runout and alert operators before defects occur. Explore smart forming units with real‑time alignment diagnostics – they reduce the skill burden and almost eliminate calibration‑related defects.
Simple rule: calibrate before you blame the paper
The next time your reject rate spikes, resist the reflex to switch paper suppliers or tweak temperatures. First, spend 90 minutes on a thorough mold and forming unit calibration.
In most cases, you’ll restore production quality without buying a single new part. And when you do need replacement molds or wear parts, always source from a supplier that provides hardness certificates (HRC 55–60 for tool steel) and precision grinding reports (tolerance ±0.02 mm).
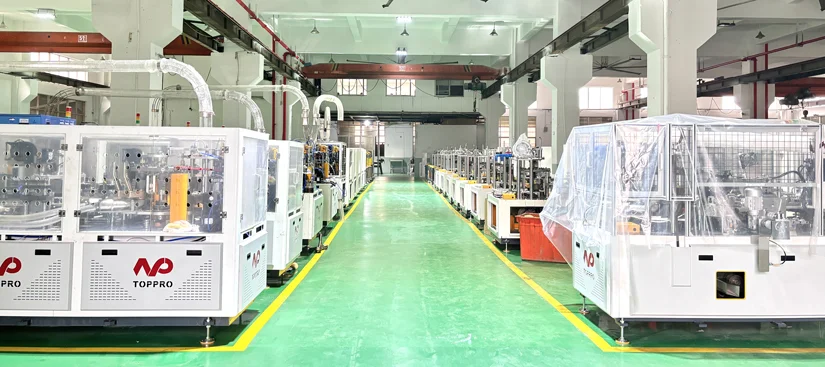
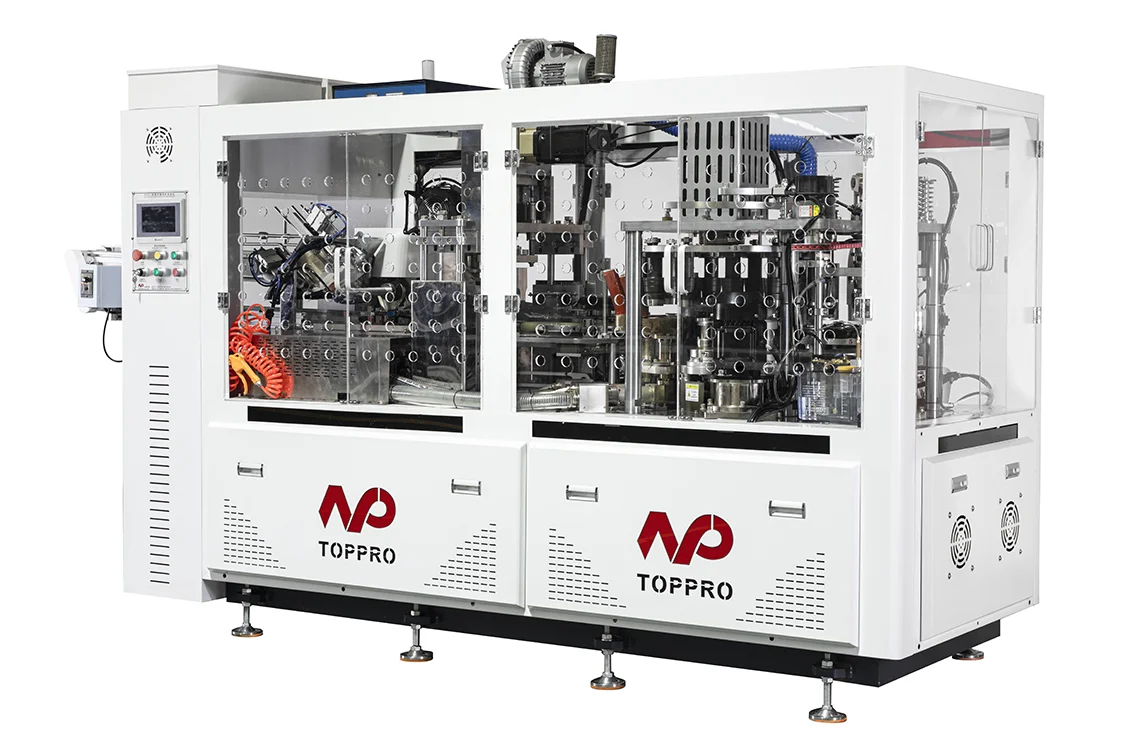
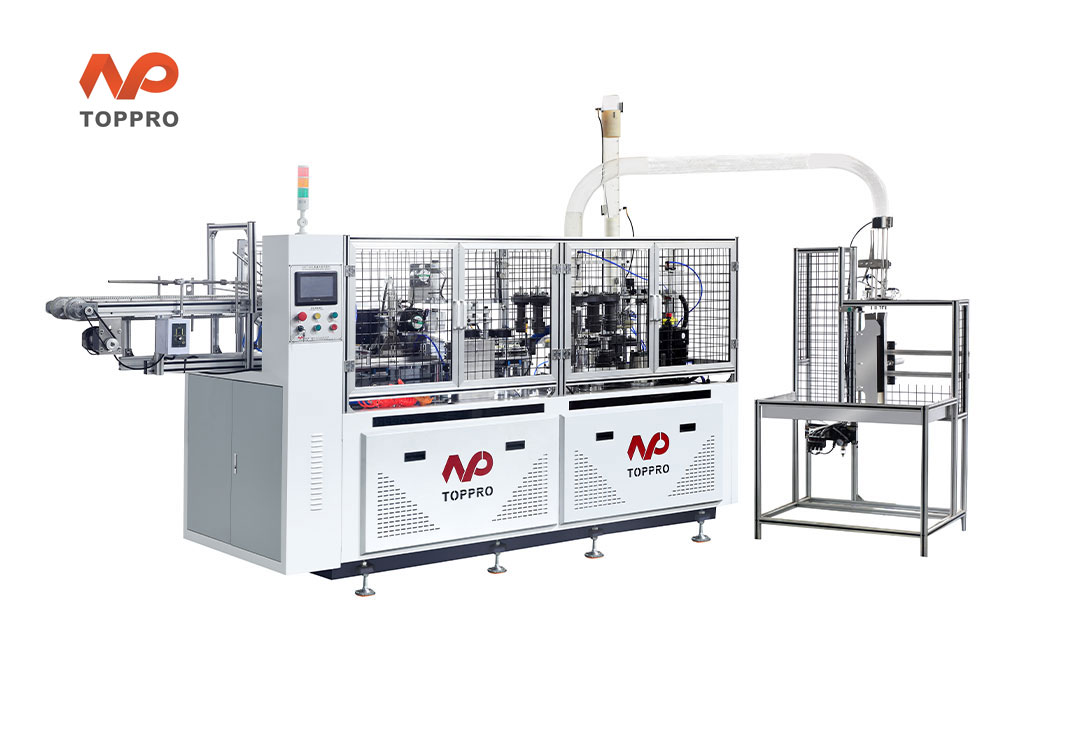
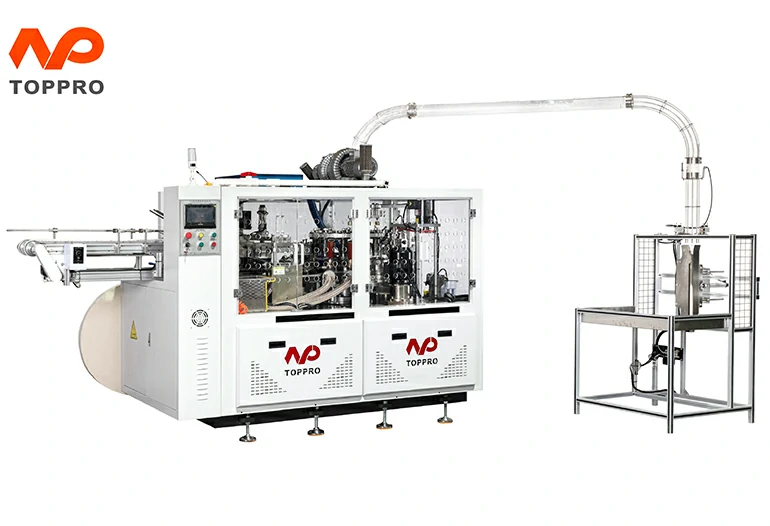
If you want to move from reactive calibration to a proactive quality system, consider equipment designed for longer calibration intervals and easier adjustment. See how TOPPRO’s modular forming systems offer quick‑change mold sets with pre‑set alignment stops – calibration takes 10 minutes instead of 90.
Your next step: Download the checklist above. Run a calibration on your oldest forming unit this Friday morning. Measure the before/after reject rate. You’ll become a believer.
Reference Materials
-
PMMI (2022) – Unplanned Downtime in Packaging: Root Cause Analysis
-
TAPPI T 827 – Sealing integrity test for coated paperboard
-
Field audit data from SEA packaging plants (2023–2024)