 English
 Español
 Pусский
 عربي
عربي 


Every production manager knows the frustration: you run a batch of cups, everything seems fine, but after a few hours, random cups start leaking from the bottom. Or worse – the sealing looks good on the outside, yet liquid seeps through during use. Inconsistent cup bottom sealing is more than a quality issue; it directly impacts your brand reputation, customer trust, and bottom line.
The good news is that sealing inconsistency is preventable. With systematic analysis and targeted adjustments, you can dramatically reduce defect rates and achieve uniform, reliable cup bottoms. This guide dives into the real-world causes of poor sealing and actionable solutions that work on any production line.
Why Do Cup Bottoms Seal Inconsistently? Four Root Causes
Before fixing the problem, you must understand where it originates. Based on field observations across dozens of converting workshops, most sealing issues fall into four categories:
1. Unstable temperature control
The bottom sealing process relies on precise heat transfer through the heating plate. If the temperature fluctuates by more than ±5°C, the polyethylene (PE) coating may not melt uniformly. Low temperature creates weak bonding; excessive temperature burns the paper edge and causes charring. Many older units lack closed-loop PID controllers, leading to drift during long runs.
2. Inconsistent pressure application
The bottom crimper (or stack press) must apply even pressure across the entire circumference. Uneven mechanical wear, misaligned forming fingers, or worn springs can create pressure variation. The result: strong seal on one side, barely sealed on the opposite side. Learn more about pressure calibration methods
3. Poor paper or coating quality
Not all cup paper is equal. The PE coating weight (typically 12–25 g/m²) and its adhesion to the paper base directly affect sealability. If the coating thickness varies across the web, the sealing response will vary. Similarly, recycled fibres or high moisture content (>8%) hinder heat transfer and bonding.
4. Timing and mechanical sync issues
The dwell time – how long the heating plate contacts the cup bottom – must match the material and temperature. High-speed production often shortens dwell time below the required threshold. Meanwhile, if the cam or servo mechanism that indexes the cup bottom is slightly out of sync, the heating plate may hit off-centre, creating half-moon seals.
A Practical 5-Step Plan to Improve Cup Bottom Quality
Now let’s move from diagnosis to action. These steps are designed for shop-floor implementation and have been validated in real production environments.
Step 1: Stabilize Your Heating System
Start by measuring actual platen temperature with a contact thermometer, not just the controller reading. Many controllers show stable values while the platen fluctuates. Install a PID temperature controller if your machine still uses an on-off thermostat. Set the temperature based on your paper supplier’s recommended range (commonly 180–220°C for single-side PE). Run a temperature profile: check at start, after 30 minutes, and after 2 hours. The variation should stay within ±3°C.
Pro tip: Let the system warm up for at least 15–20 minutes before production. Cold starts are a major source of inconsistent first-run seals.
Step 2: Check and Adjust Bottom Pressure
Use a force gauge or simple paper pressure-test strips (available from some tooling suppliers) to measure pressure uniformity. Place the strip between the bottom heating plate and the forming fingers at multiple angular positions. If pressure differs by more than 10%, inspect the mechanical linkage. Common fixes include tightening springs, cleaning guide rods, or replacing worn bearings.
Step 3: Optimize Dwell Time for Your Speed
Dwell time = (heating plate contact angle ÷ 360°) × (cycle time). For PE-coated paper, the effective heat exposure should be at least 0.3–0.5 seconds. If you run above 80 cups per minute, recalculate – many high-speed lines need extended heating plates or dual-stage sealing. If your equipment allows, increase the heating plate’s angular contact range slightly, but ensure it doesn’t interfere with cup ejection.
Step 4: Upgrade to Precision Tooling
Worn or low-quality bottom forming punches and dies are silent killers. They lose their surface finish and geometry over time, creating uneven pressure distribution even when the machine settings are perfect. Using D2 steel or carbide-coated tooling extends consistent performance. Plan a tooling replacement schedule: every 5–8 million cycles for high-volume production.
Step 5: Implement Inline Monitoring
Install a simple visual or laser-based inspection system after the bottom sealing station. It doesn’t need to be expensive – even a fixed camera with a threshold check can detect missing or wrinkled seals. When the system flags a bad cup, you can pause and correct the issue before producing hundreds of defective units.
Common Misconceptions That Worsen Sealing Issues
Over the years, we’ve seen operators fall into the same traps. Avoid these:
-
“Higher temperature always seals better.” False. Excess heat melts the PE too much, causing it to squeeze out sideways, creating a hard, brittle edge that cracks.
-
“More pressure fixes everything.” Excessive pressure can crush the paper fibre structure, leading to micro-cracks and eventual leaks under liquid pressure.
-
“All cup paper works the same.” Switching paper suppliers without re-qualifying the sealing parameters is a leading cause of sudden defect spikes. Always run a trial batch and re-optimize temperature and dwell time.
How to Build a Sustainable Quality Control System
Consistent sealing isn’t a one-time fix; it requires ongoing discipline. Here’s a simple but effective routine used by medium-sized converters:
| Frequency | Action | Success Criterion |
|---|---|---|
| Every shift | Check platen temperature with contact thermometer | Within ±3°C of setpoint |
| Daily | Visual inspect bottom forming tooling for wear or residue | No visible nicks, burns, or buildup |
| Weekly | Measure pressure uniformity (3 positions) | Max 10% variation |
| Per material batch | Run 50-cup validation and perform leak test (fill with water at 60°C for 1 hour) | Zero leakage |
| Quarterly | Replace or rotate bottom sealing springs and bearings | Restored mechanical consistency |
This table is not theoretical – it’s based on quality protocols from ISO 22000-certified cup manufacturing plants. Documenting these checks also helps with customer audits and reduces liability.
When Your Equipment Limits Improvement
Sometimes, despite perfect parameter tuning and diligent maintenance, the sealing inconsistency persists. The culprit may be inherent mechanical limitations: excessive play in the indexing system, undersized heating elements, or a frame that flexes under thermal expansion. These are not operator errors – they are design constraints.
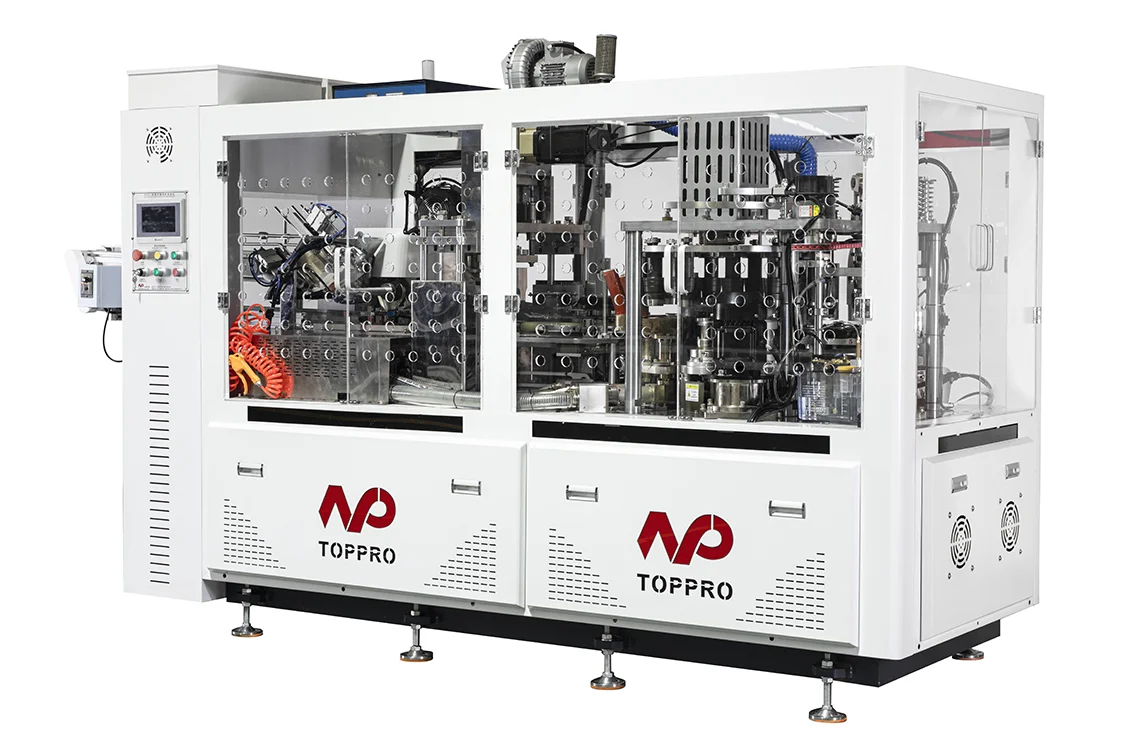
In such cases, upgrading to a more robust production platform becomes a cost-effective decision. The right equipment offers features like servo-driven indexing, closed-loop temperature control on each heating zone, and quick-change tooling with preset parameters.
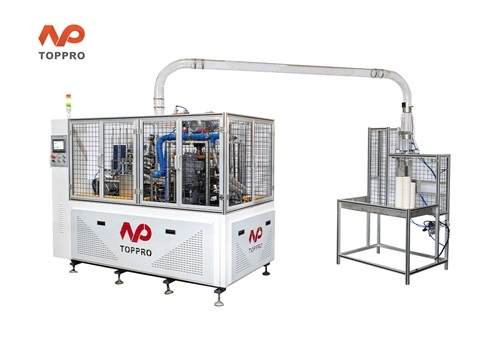
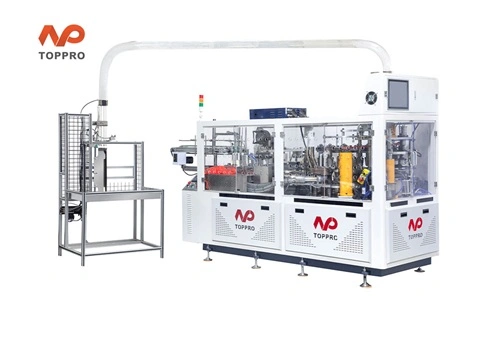
If you’re facing persistent bottom sealing defects and want to explore equipment solutions that eliminate the root causes, consider the TOPPRO series of cup forming solutions. TOPPRO machines are engineered with heavy-duty heating systems, precision-ground tooling mounts, and user-friendly parameter storage – so once you find the perfect setting, you can recall it every time. You don’t have to live with unpredictable waste or customer returns.
Final Thoughts & Your Next Step
Inconsistent cup bottom sealing is solvable. Start with the basics: temperature, pressure, timing, and materials. Implement the five-step plan. Avoid the common misconceptions. Build a simple but rigorous quality check system. And if mechanical limitations hold you back, a targeted equipment evaluation can pay for itself within months through reduced waste and enhanced brand reliability.
Now it’s your turn – which of these four root causes has been the biggest challenge on your line? Share your experience or reach out for a personalized troubleshooting guide.