 English
 Español
 Pусский
 عربي
عربي 


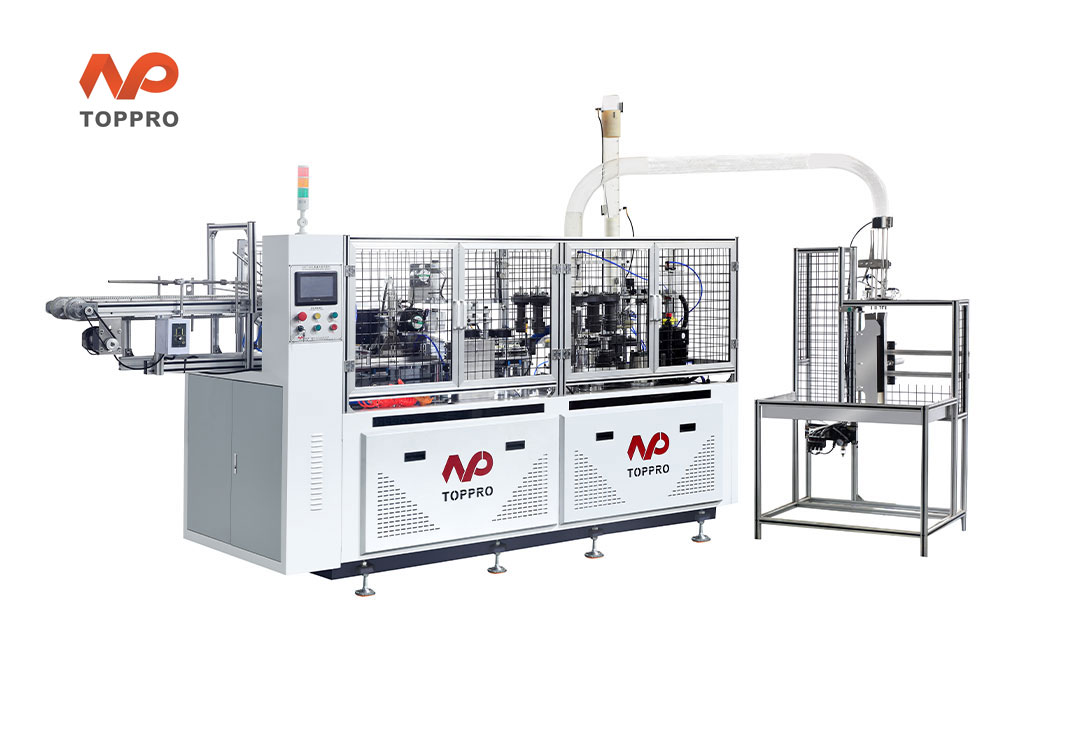
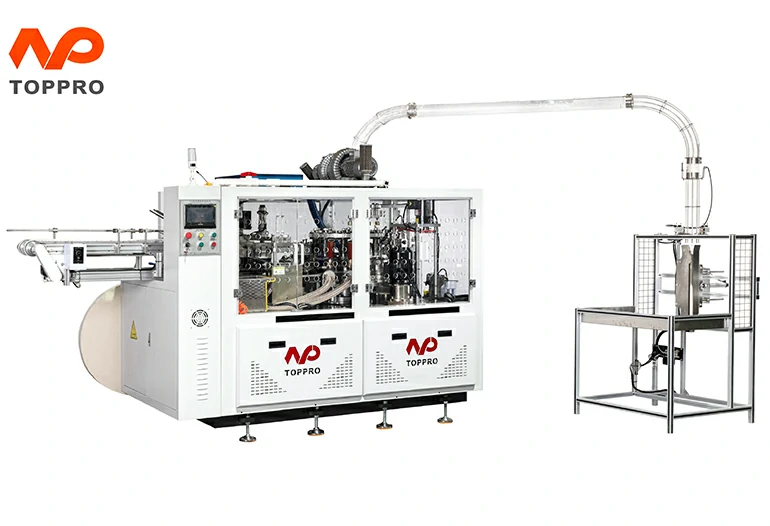
A sudden surge in customer complaints about leaking cups often triggers frantic troubleshooting: checking sensors, adjusting knurling wheels, even replacing entire sealing heads—all while the reject bin fills up. But sealing inconsistency is rarely a mystery. Based on dozens of field observations across paper cup converting workshops, most bottom sealing issues trace back to just four root causes. Each has a predictable symptom, and each has a proven fix. Even the most advanced production equipment needs systematic diagnosis when quality drifts. This guide walks through the four root causes, field‑validated corrections, and a 5‑step improvement plan that works on any Paper Cup Machine production line.
Four Root Causes of Inconsistent Bottom Sealing
Most sealing issues fall into four categories. Understanding where your problem originates is the first step to fixing it.
Unstable temperature control
The bottom sealing process relies on precise heat transfer through the heating plate. If the temperature fluctuates by more than ±5°C, the polyethylene (PE) coating won’t melt uniformly. Low temperature creates weak bonding; excessive temperature burns the paper edge and causes charring. Many older units lack closed‑loop PID controllers, leading to drift during long runs. Modern servo-controlled machines use PLCs to provide precise temperature management across preheating, bottom heating, and knurling zones.
Inconsistent pressure application
The bottom knurling must apply even pressure across the entire circumference. Uneven mechanical wear, misaligned forming fingers, or worn springs create pressure variation. The result: strong seal on one side of the cup, barely sealed on the opposite side. If the knurling wheel pressure is too small, the paper at the bottom and cup wall cannot be tightly combined, leading to water leakage.
Poor paper or coating quality
Not all cup paper is equal. The PE coating weight—typically 15-18 g/m²—and its adhesion to the paper base directly affect sealability. If the coating thickness varies across the web, the sealing response will vary. Similarly, recycled fibers or high moisture content (>8%) hinder heat transfer and bonding. Paper cup machines are designed to work with single/double PE, PLA, and water‑based coated paper, but material consistency still matters.
Timing and mechanical sync issues
The dwell time—how long the heating plate contacts the cup bottom—must match the material and temperature. High‑speed production often shortens dwell time below the required threshold. Meanwhile, if the cam or servo mechanism that indexes the cup bottom is slightly out of sync, the heating plate may hit off‑center, creating half‑moon seals. If the knurling pattern is worn flat, the bonding effect at the bottom of the paper cup will be greatly reduced, leading to water leakage problems.
A Practical 5‑Step Plan to Improve Bottom Quality
These steps are designed for shop‑floor implementation and have been validated in real production environments.
Step 1: Stabilize your heating system. Start by measuring actual platen temperature with a contact thermometer, not just the controller reading. Many controllers show stable values while the platen fluctuates. Set the temperature based on your paper supplier’s recommended range . Run a temperature profile: check at start, after 30 minutes, and after 2 hours. The variation should stay within ±3°C. Let the system warm up for at least 15–20 minutes before production—cold starts are a major source of inconsistent first‑run seals. If the heating furnace temperature is too low, the hot melt adhesive at the bottom of the paper cup cannot be fully melted.
Step 2: Check and adjust bottom pressure. Use a force gauge or simple paper pressure‑test strips to measure pressure uniformity. Place the strip between the bottom heating plate and the forming fingers at multiple angular positions. If pressure differs by more than 10%, inspect the mechanical linkage. Common fixes include tightening springs, cleaning guide rods, or replacing worn bearings. If the seal on one side of the paper cup is not firm, check preheating temperatures (typically 280°C) and knurled heating panel settings (230‑260°C).
Step 3: Optimize dwell time for your speed. Dwell time equals (heating plate contact angle ÷ 360°) × (cycle time per cup). When you increase production speed, cycle time decreases—so dwell time drops unless you adjust the contact angle or raise the temperature. For every 20 cups/min increase, consider raising the temperature by 5‑10°C or extending the heating plate‘s arc length.
Step 4: Verify paper quality before the run. Test each new paper roll batch before full production. Check coating weight consistency across the web width and measure moisture content—anything above 8% is problematic. If you switch between single‑PE, double‑PE, or PLA‑coated paper, adjust temperature accordingly.
Step 5: Implement a daily pre‑shift verification. Before the first run, run 20 test cups at normal speed, then perform a destructive seal test on at least 5 cups. Tear the cup open along the bottom seal. If the surface is rough, the seal is good; if smooth, it‘s not sealed and adjustments are needed. Keep a log of temperature setpoints, pressure readings, and paper lot numbers.
What Operators Ask Most About Bottom Sealing
Q: Why does the same paper cup machine produce good seals on some cups but leaks on others?
A: This points to inconsistent pressure application or temperature fluctuation. Check the pressure distribution across the bottom sealing plate—if it varies by more than 10%, the linkage needs adjustment. Also monitor the temperature profile; if the platen temperature fluctuates beyond ±3°C, your PID controller may need recalibration or replacement.
Q: How often should we replace the knurling wheel?
A: Inspect the knurling pattern weekly. If the texture is visibly worn flat, the bonding effect at the bottom will be greatly reduced, leading to leaks. Replace or re‑engrave the knurling wheel immediately when wear is detected. High‑volume producers typically replace knurling wheels every 6–12 months depending on usage.
Q: Can ultrasonic sealing pressure be adjusted too high?
A: Yes. If the overall ultrasonic pressure is too high, it may cause burn marks or yellowing at the sealing area, affecting product appearance and quality. The pressure at the rear part of the ultrasonic head should be set correctly—too low causes poor sealing, too high damages the cup body.
Q: How do I identify if uneven sealing is from paper quality vs. machine settings?
A: Run a test with a known good paper roll from a previous batch that produced acceptable cups. If the problem disappears, the issue is paper‑related (coating variation, moisture content, or recycled fiber inconsistency). If the problem persists, focus on machine calibration—temperature stability, pressure distribution, or timing synchronization.
Building a Systematic Approach to Bottom Quality
The most expensive fix is the one applied after a batch of 50,000 cups has already been shipped to a customer and rejected. Moving from reactive fire‑fighting to a systematic quality program requires three changes.
First, log everything. Record temperature setpoints, actual platen temperatures, pressure readings, and paper lot numbers for every production run. A simple spreadsheet becomes the baseline for spotting trends—for example, a temperature drift that only appears after two hours of running may indicate a failing heater element.
Second, make pre‑shift verification mandatory. Before the first run of each shift, run test cups and perform destructive seal testing on at least 5 cups. If the seal surface is smooth, it‘s not sealed—adjust and retest before production begins. This 10‑minute routine prevents hours of rework.
Third, train operators to read the evidence. Operators should know that a rough seal surface means the bond is good; a smooth seal surface means it failed. They should recognize that a seal that looks good on the outside but separates when the cup is filled points to low knurling pressure. When the team can diagnose by observation, production stops are shorter and quality is more consistent.
Where the Machine Helps – Features That Reduce Sealing Inconsistency
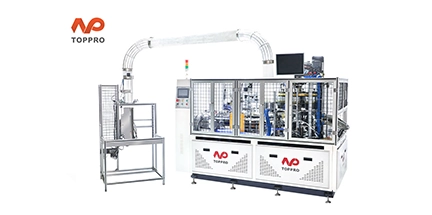
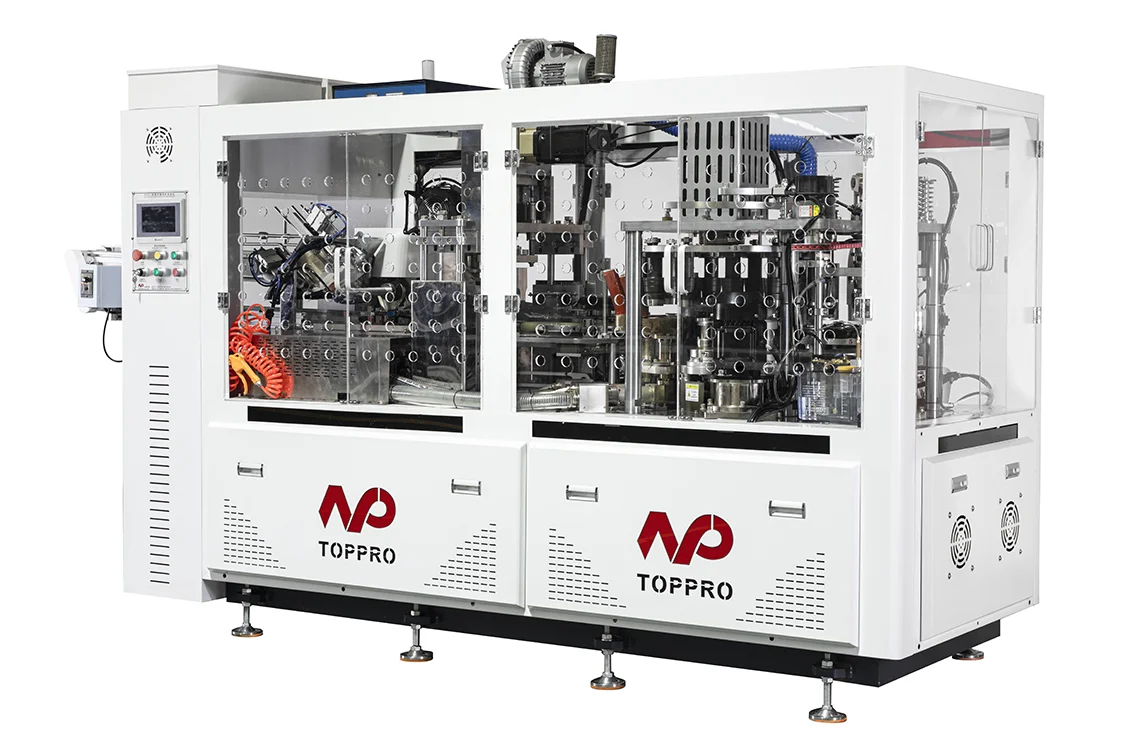
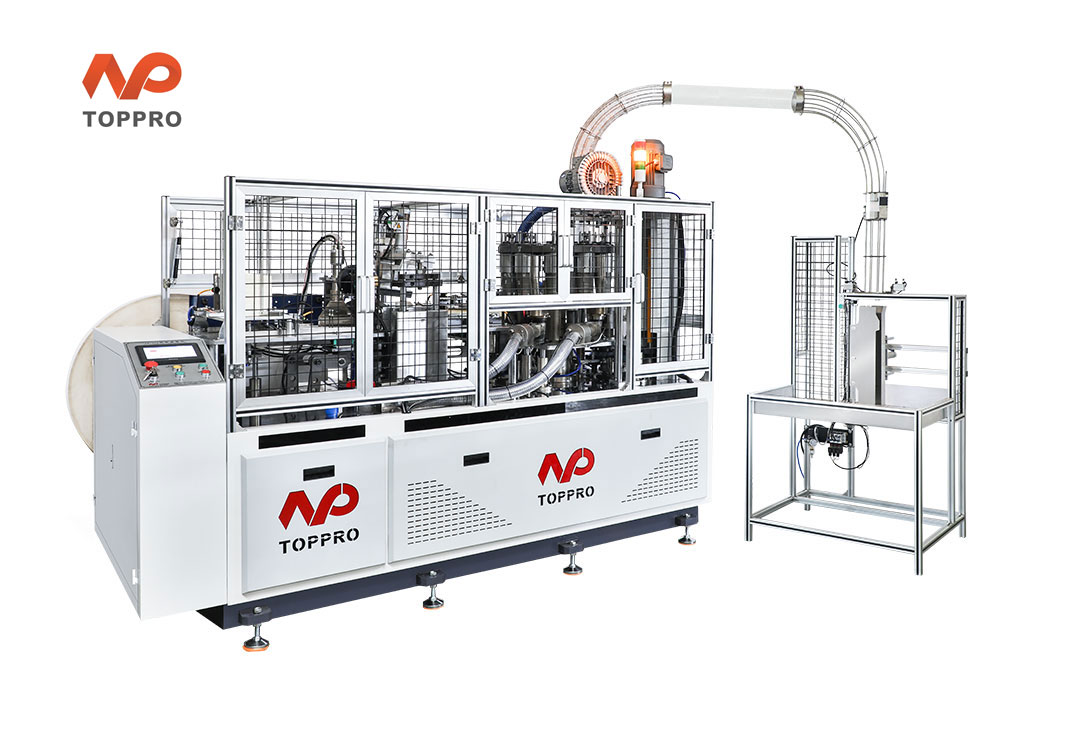
When consistent bottom sealing is the baseline requirement, the engineering of the Paper Cup Machine determines how reliably the process runs. TOPPRO Machinery designs and manufactures the Disposable Cup Making Machine series with features that directly address the four root causes of sealing failures.
The SFBJ-600 full servo model reaches 160‑200 cups/min with ±1°C temperature control across preheating, bottom heating, and knurling zones. Ultrasonic sealing technology eliminates glue use, providing 30% better leak resistance and consistent bonding independent of adhesive viscosity. Full servo plus PLC control enables precise paper feeding, real‑time diagnostics, and one‑click recipe change for different cup sizes. The quick‑change mold set allows operators to switch between cup sizes in 5‑10 minutes, reducing changeover waste.
For startups and smaller operations, the LF‑110 mid‑speed model (100‑120 cups/min) and LF‑70 economy model (65‑75 cups/min) offer stable output with lower entry cost. All TOPPRO machines are CE and SGS certified, with a technical team offering up to 5 years warranty on some parts and on‑site service support.
→ Request a quote from TOPPRO Machinery for the Disposable Cup Making Machine — Share your target cup size range, monthly output requirement, and paper type (single/double PE, PLA, or water‑based coated). Their technical team can recommend the right model and provide default sealing parameters for your specific application.